


 4-5 / 16

4
5
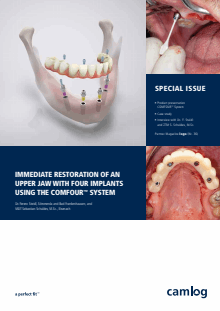
IMMEDIATE RESTORATION OF AN UPPER JAWWITH
FOUR IMPLANTS USING THE COMFOUR
TM
SYSTEM
Dr. Ferenc Steidl, Sömmerda and Bad Frankenhausen, and MDT Sebastian Schuldes,
M.Sc., Eisenach
Offering edentulous patients a fixed restoration on four or six implants is not new and has been easily achievable to date using the CAMLOG
®
VARIO SR System. In close dialogue with its customers, CAMLOG developed new system components with sophisticated features
for the bar abutments. The range was expanded by bar abutments angled at 17° and 30° as types A or B. CAMLOG presented the new
COMFOUR
™
System components to VARIO SR users and made the components available to users for the clinical test phase. The therapeutic
concept underlying the following case report is a temporary immediate restoration after extraction of non-preservable and
periodontally compromised teeth in the upper jaw on four implants, based on the concept developed by Professor Paolo Maló [1, 2, 3],
using the new components of the COMFOUR
™
System.
For the long-term success of an immediate resto-
ration, the experience of the clinical team com-
prising the surgeon, prosthodontist, and dental
technician is of critical importance. Thorough
preliminary examinations and carefully determi-
ning the indication, knowing how to handle the
system components, and positioning the implants
to obtain a sufficiently large load polygon without
damaging the anatomic structures are criteria that
must be met. The implants inserted for an imme-
diate restoration must have a high degree of pri-
mary stability and must be splinted or blocked. If
these criteria are met, the concept provides a safe
and predictable treatment outcome using only a
single surgical procedure.
The initial findings
The 37-year-old patient, smoker, came to our
practice in January 2015 after referral by his
dentist. The initial intraoral situation was char-
acterized by a inadequate plastic clasp-retained
denture and periodontally compromised teeth in
the upper jaw. Despite therapy that was promptly
initiated, no significant improvement could be
seen. The highly mobile teeth could not be pre-
served.The patient expressed a wish for a permanent
fixed restoration and a considerable improvement
in the esthetic appearance. It was equally impor-
tant to him to have a temporary fixed denture
during the healing phase of the implants. After a
meticulous case analysis and a diagnostic setup,
we discussed our therapeutic concept with the
patient. The concept is based on the Maló Clinic
protocol. In our practice it has proven itself to be
an outstanding concept following extraction of
non-preservable teeth combined with immediate
implantation and an immediate, fixed, temporary
restoration with a reduced number of implants in
the edentulous jaw.
The preoperative phase
After a thorough explanation for the patient and
making the decision, we prepared the following
treatment plan:
• Professional teeth cleaning with deep scaling in
the lower jaw
• Guided surgery after three-dimensional implant
planning and template preparation
• Fabrication of a long-term temporary restora-
tion using CAD/CAM high-performance polymer
• Extraction, implantation, and immediate
restoration on the bar abutments from the
COMFOUR
™
System in one treatment session
under general anesthetic
For the preparation of a scanning template, we
made an impression of the upper and lower jaws
in February 2015. The teeth in the lower jaw were
professionally cleaned by a dental hygienist inclu-
ding deep scaling, and the tooth color was deter-
mined for the maxillary restoration.
The fabrication of the temporary
restoration
Because the setup met the esthetic and function-
al requirements, it was converted into polymer
with added barium sulfate using the “backward
planning” procedure [4, 5]. In order to visualize
the prosthetic tooth axis in the DVT data set,
holes were drilled through the radiopaque teeth
in this axis
(see Fig. 8)
.
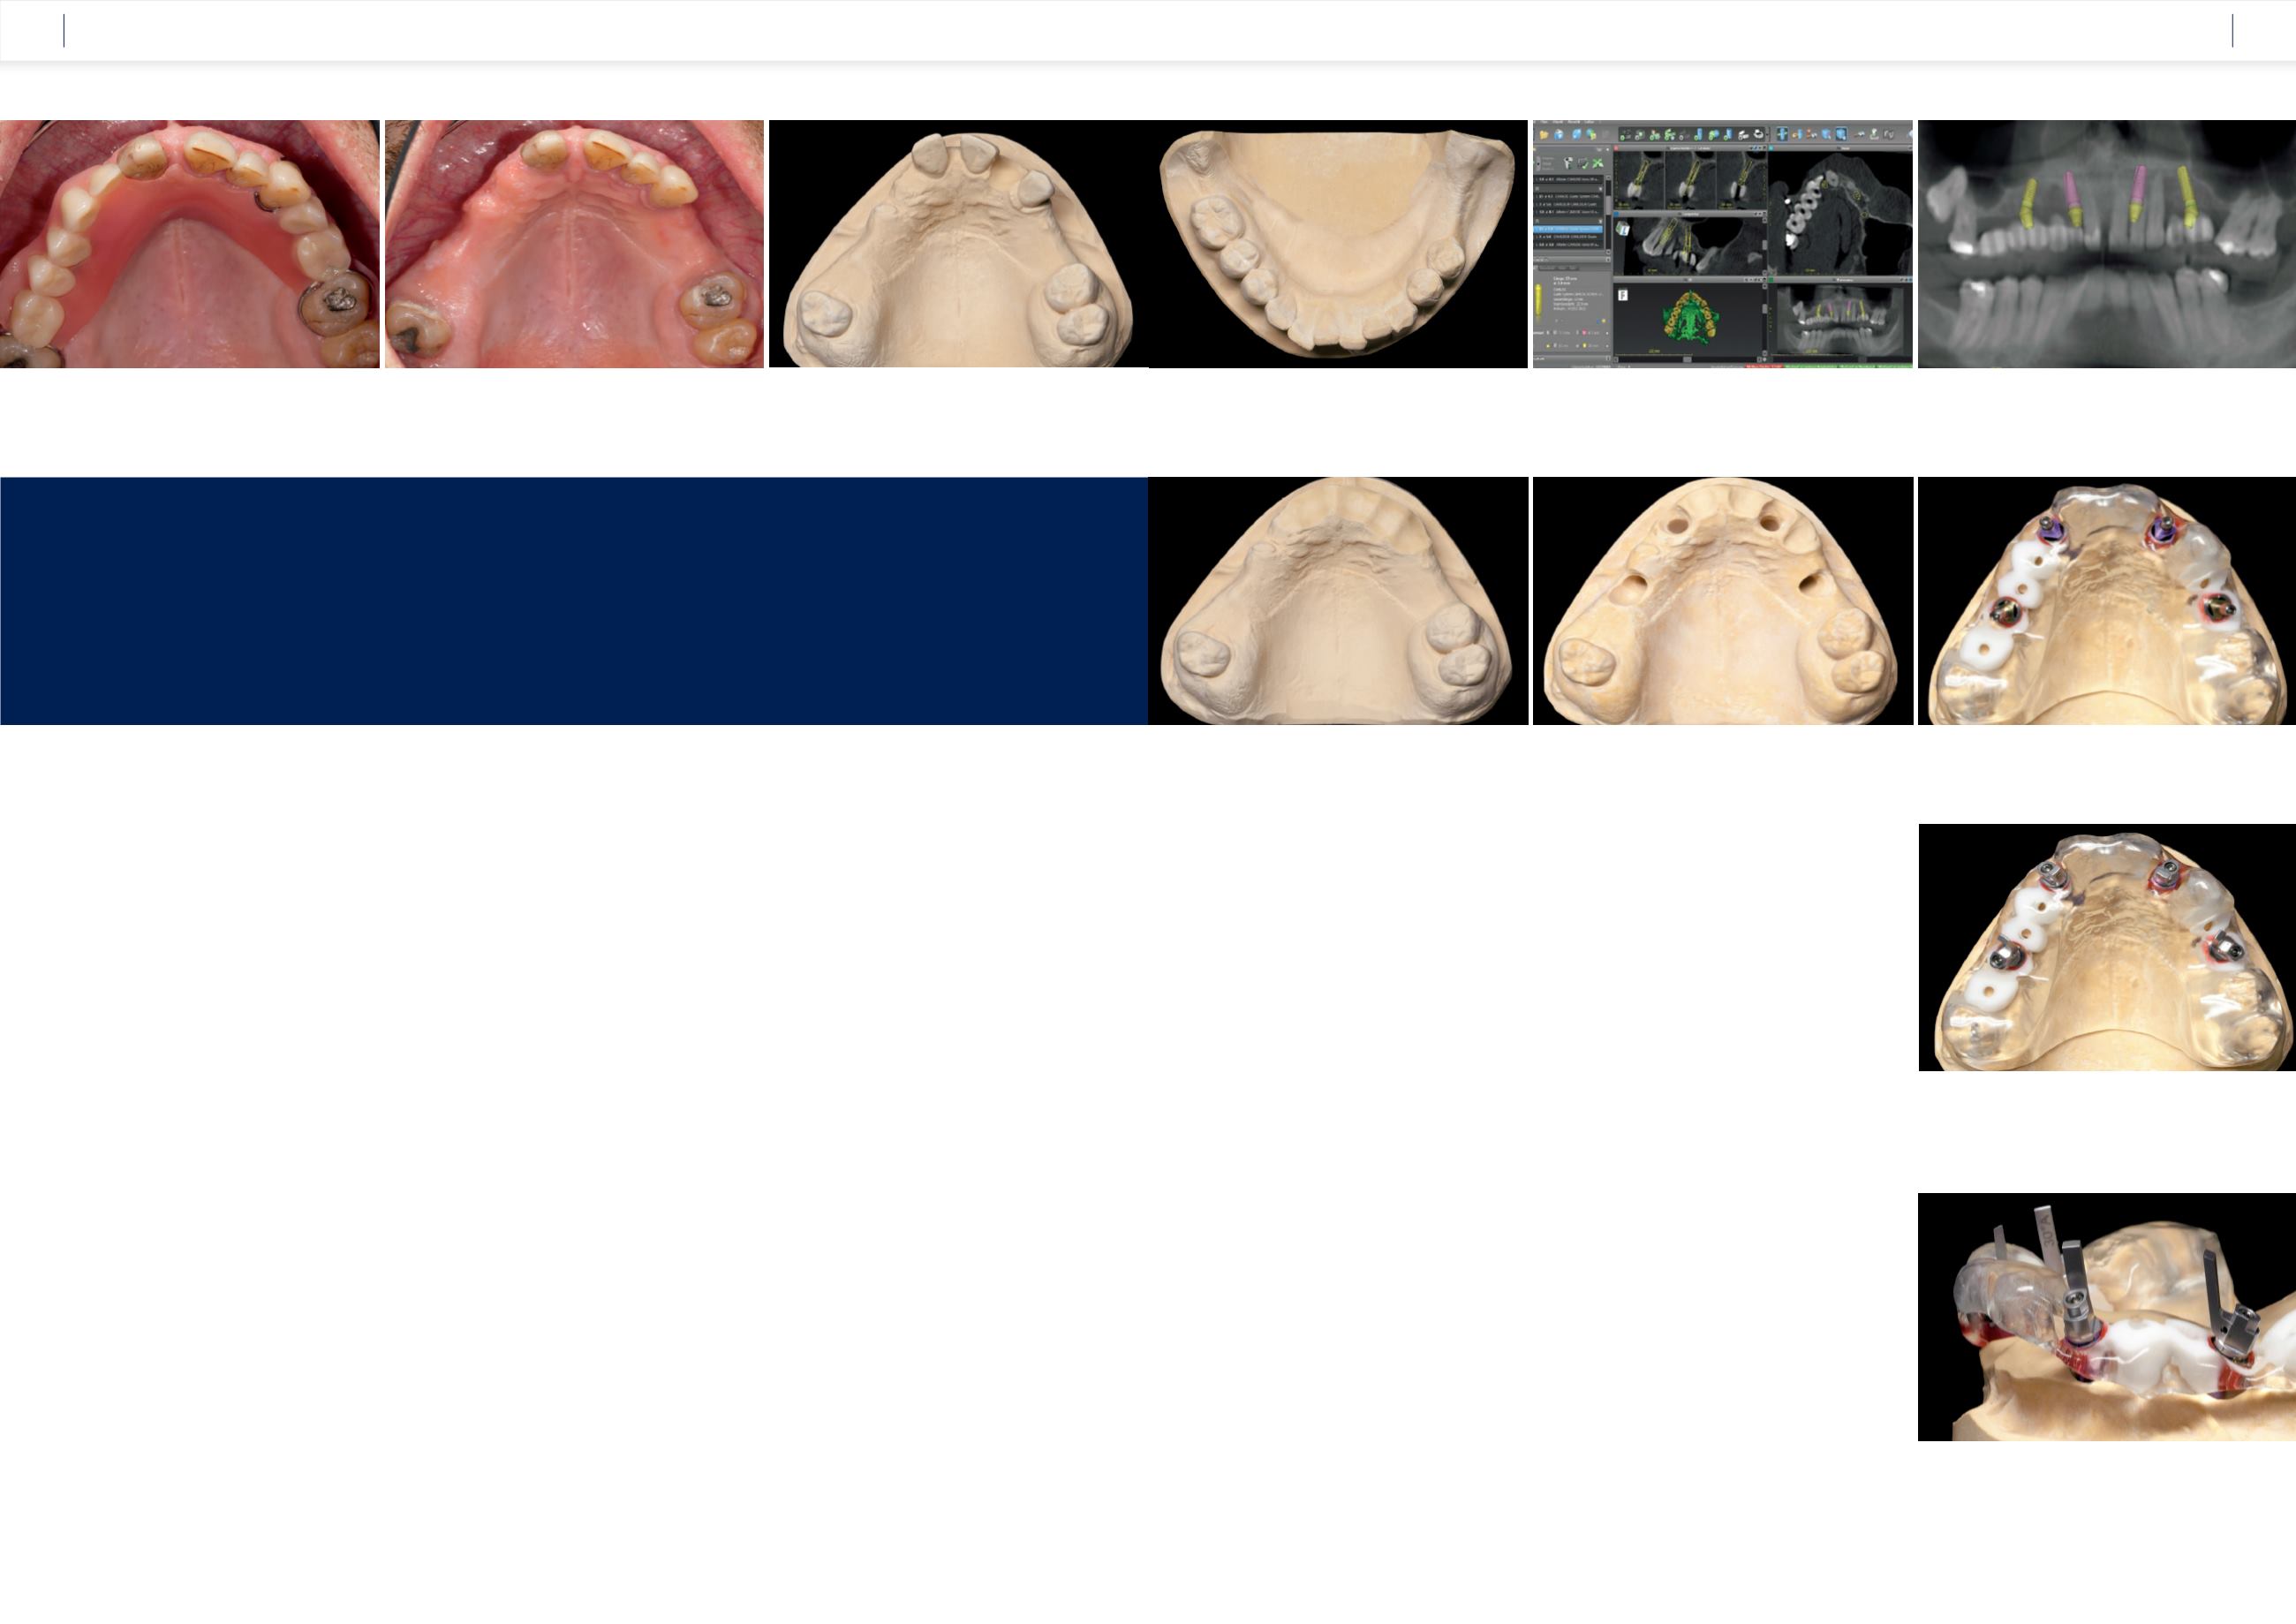
The DVT imaging was carried out in the practice.
The digital data were fed into the implant plan-
ning system and the optimal implant position
and length were determined, taking into ac-
count the anatomic structures and the prosthe-
tic requirements
(Fig. 5)
. The prerequisite for
a successful outcome using this treatment con-
cept is achieving a sufficiently large support for
the restoration. The positioning of the dorsally
angled implants is a critical requirement for the
success of this treatment concept
(Fig. 6)
.
After the 3D planning, a precise drilling template
was prepared in the laboratory for fully guided
surgery using the guide sleeves from the
CAMLOG Guide System. The template should be
stably fixed intraorally over the natural teeth and the
palate. In order to precisely position the angled bar
abutments of the COMFOUR
™
System the indexing
of the inner implant configuration must be aligned
with the marking on the guide sleeve. After pre-
paring the template, the plaster teeth were re-
moved and we used the drilling template for model
implantation.
The model was ground away around the im-
plants taking the axis alignment into account
(Fig. 7 and 8)
.
Figure 9
shows the use of the
aligning tool that is placed on the Guide inser-
tion aid for precise positioning of the cam in rela-
tion to the 17° and 30° angled bar abutments.
The lab analogs screwed onto the CAMLOG
®
Guide insertion posts were fixed in the model,
corresponding to the aligning tool
(Fig. 10
and 11)
. Near the lateral incisors, we insert-
ed 17° and 30° angled bar abutments in regions
15 and 25.
The abutments were supplied pre-mounted
on an insertion handle. This handle makes the
positioning of the short bar abutments easier and
ensures that the screwdriver has free access to
the abutment screw
(see Fig. 28)
.
Fig. 6:
Optimal use was made of the original jaw bone
thanks to angled implants.
Fig. 5:
Taking the anatomic structures into account, the implant
positions were planned virtually.
Fig. 4:
The dentition in the lower jaw: Free-end situation on
the left and a shortened row of teeth in the 4th quadrant.
Fig. 1:
The patient presented in the dental practice
with an inadequate denture.
Fig. 2:
The current oral situation shows periodontally compromised
and non-preservable teeth.
Fig. 3:
The model of the situation in the upper jaw was prepared by etching
tooth 22 for the creation of a Guide template.
Fig. 9:
The lab analogs were screwed in using the Guide
insertion aid and the loose fit was checked in the model.
Fig. 8:
The implant areas were ground away for
insertion of the lab analogs.
Fig. 7:
To prepare the pre-fabricated immediate restoration,
the anterior teeth were etched for bridge retention.
Fig. 10:
With the help of the aligning tool of the COMFOUR
™
System, the
inner configuration of the implant can be aligned.
Fig. 11:
The extension of the aligning tool shows the screw channel of the
prosthetic restoration.
CASE STUDY
CASE STUDY